
This tutorial will guide you, step by step, through the process of developing your first dApp on the Polygon platform, the key to unlocking a whole new world of possibilities.
Required Tools
Let's gather our tools. Here's what we need:
- MetaMask: This is a crypto wallet that will allow us to interact with the Ethereum network.
- Truffle: It's a development environment, testing framework and asset pipeline for Ethereum.
- Polygon Mumbai Testnet: We will use this for testing our dApp.
For this tutorial, I am assuming that you have a basic understanding of JavaScript, Solidity, Ethereum, and blockchain technology.
Step 1: Setting Up the Environment
First things first, let's install Truffle:
1npm install -g truffle
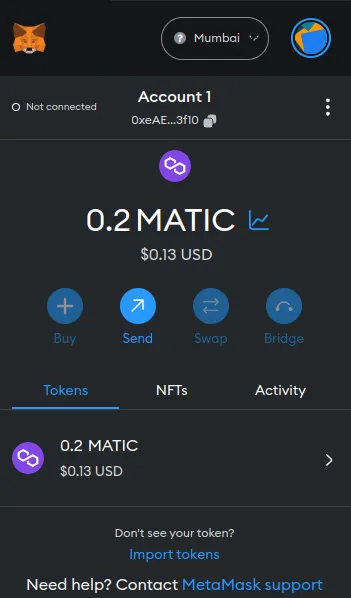
With Truffle in place, let's configure MetaMask to use the Polygon Mumbai Testnet. Follow these instructions from the official Polygon documentation to do so.
Great! You should see something like this when you open your Metamask:
Step 2: Configuring Truffle
Let's initialize Truffle in our project:
1truffle init
The truffle init command creates a new Truffle project with the necessary configuration files and directories. Among these is the truffle-config.js file, which is essential for configuring Truffle's behavior.
Open the truffle-config.js file. You will see various configurations commented out. For now, we're interested in setting up our project to use the Polygon Mumbai Testnet.
Find the networks section in the configuration file and add the following configuration:
1networks: {2 matic: {3 provider: () => new HDWalletProvider(mnemonic, `https://rpc-mumbai.maticvigil.com`),4 network_id: 80001,5 gas: 8000000,6 confirmations: 2,7 timeoutBlocks: 200,8 skipDryRun: true9 },10},
You'll need to replace mnemonic with your MetaMask wallet's mnemonic phrase.
Please note that your mnemonic phrase should be kept secret. Do not share it with anyone or publish it online. Also, in a real-world production setting, you would not hardcode the mnemonic phrase in the truffle-config.js file for security reasons. You might use environment variables or a secure secret management system.
Also, update your Truffle configuration to match the Solidity version we'll use:
1compilers: {2 solc: {3 version: "^0.8.0",4 },5},
Finally, you'll need to install HDWalletProvider, a Truffle package that allows us to connect to different Ethereum networks:
1npm install @truffle/hdwallet-provider
At the top of your truffle-config.js file, require the HDWalletProvider:
1const HDWalletProvider = require("@truffle/hdwallet-provider");
With these configurations, you're now ready to compile and migrate your smart contracts using Truffle on the Polygon Mumbai Testnet.
Step 3: Writing a Smart Contract
Let's create a simple smart contract. This contract will just store and retrieve a string. In the root of your project directory, create a new file called HelloWorld.sol in the contracts directory and copy the following Solidity code into it:
1pragma solidity ^0.8.0;23contract HelloWorld {4 string public message;5 function setMessage(string memory newMessage) public {6 message = newMessage;7 }8 function getMessage() public view returns (string memory) {9 return message;10 }11}
Step 4: Compiling the Smart Contract
Let's compile our smart contract using Truffle:
1truffle compile
Step 5: Deploying the Smart Contract to the Polygon Mumbai Testnet
We create a migration script in the migrations directory:
1const HelloWorld = artifacts.require("HelloWorld");23module.exports = function(deployer) {4 deployer.deploy(HelloWorld);5};
You should name the file with a number followed by a description. For example, if your contract's name is HelloWorld, you might create a new file named 2_deploy_hello_world.js for example. The number at the beginning indicates the order in which the migration should run.
And finally, deploy your contract:
1truffle migrate --network matic
1Compiling your contracts...2===========================3> Everything is up to date, there is nothing to compile.456Starting migrations...7======================8> Network name: 'matic'9> Network id: 8000110> Block gas limit: 20235543 (0x134c517)11122_deploy_hello_world.js13=======================1415 Deploying 'HelloWorld'16 ----------------------17 > transaction hash: 0x4e5081f75cdc0082d61ad375b3636bf66a22fb88278f9a254b318d5ebffdbfc118 > Blocks: 2 Seconds: 419 > contract address: 0xe53F9E3671B631A61a26A6Cc54e46da78132331120 > block number: 3767328721 > block timestamp: 168876206722 > account: 0xeAE0666664347AdaE0Bd3a107713D11a610B3f1023 > balance: 0.13666658958066617624 > gas used: 333364 (0x51634)25 > gas price: 2.500000016 gwei26 > value sent: 0 ETH27 > total cost: 0.000833410005333824 ETH2829 Pausing for 2 confirmations...3031 -------------------------------32 > confirmation number: 2 (block: 37673289)33 > Saving artifacts34 -------------------------------------35 > Total cost: 0.000833410005333824 ETH3637Summary38=======39> Total deployments: 140> Final cost: 0.000833410005333824 ETH
Our Smart Contract is deployed to the Polygon Mumbai Testnet:
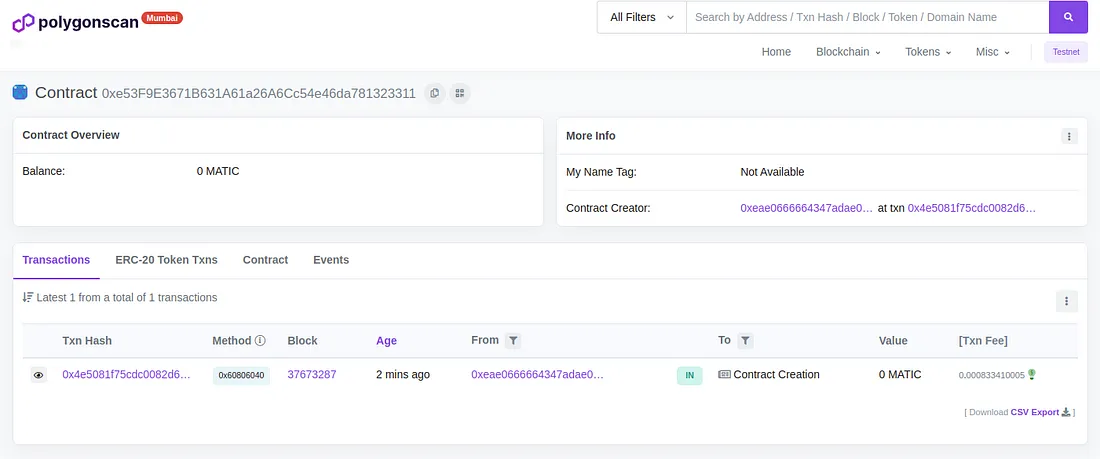
https://mumbai.polygonscan.com/address/0xe53F9E3671B631A61a26A6Cc54e46da781323311
Step 6: Interacting with the Smart Contract
First, let's create a basic HTML file called index.html in the root of your project directory:
1<!DOCTYPE html>2<html lang="en">3<head>4 <meta charset="UTF-8">5 <meta name="viewport" content="width=device-width, initial-scale=1.0">6 <title>HelloWorld dApp</title>7</head>8<body>9 <h1>HelloWorld dApp</h1>10 <input id="message-input" type="text" placeholder="Type a message...">11 <button id="message-button">Set Message</button>12 <div id="message-output"></div>1314 <!-- Include web3.js -->15 <script src="https://cdnjs.cloudflare.com/ajax/libs/web3/1.2.9/web3.min.js"></script>16 <!-- Include our JavaScript file -->17 <script src="app.js"></script>18</body>19</html>
Next, we create a JavaScript file called app.js:
1// replace with your contract's ABI (can be found in the JSON file in the build/contracts directory)2const contractABI = [...];34// replace with your contract's deployed address5const contractAddress = '...';67const web3 = new Web3(window.ethereum);8const helloWorldContract = new web3.eth.Contract(contractABI, contractAddress);910window.ethereum.enable().then((accounts) => {11 const account = accounts[0];1213 const messageButton = document.getElementById('message-button');14 const messageOutput = document.getElementById('message-output');1516 // Display current message17 helloWorldContract.methods.getMessage().call()18 .then(result => {19 messageOutput.innerText = result;20 });2122 // Set new message23 messageButton.addEventListener('click', () => {24 const messageInput = document.getElementById('message-input');2526 helloWorldContract.methods.setMessage(messageInput.value)27 .send({ from: account })28 .on('transactionHash', () => {29 messageOutput.innerText = messageInput.value;30 });31 });32});
Please remember to replace the contractABI and contractAddress with your actual contract's ABI and the address where it was deployed. Also, ensure that MetaMask is installed in your browser, or else window.ethereum will be undefined.
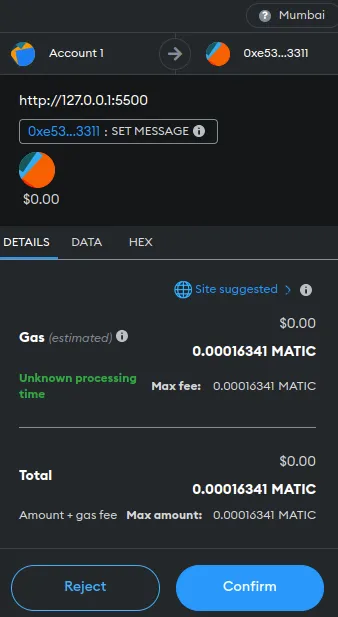
You can now open the index.html file in your browser. Don't forget to connect your MetaMask to the Polygon Mumbai Testnet and the correct account.
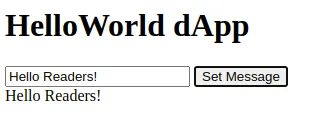
After connecting, you can interact with your deployed HelloWorld contract by typing a new message and clicking the 'Set Message' button. You should see the message updated.
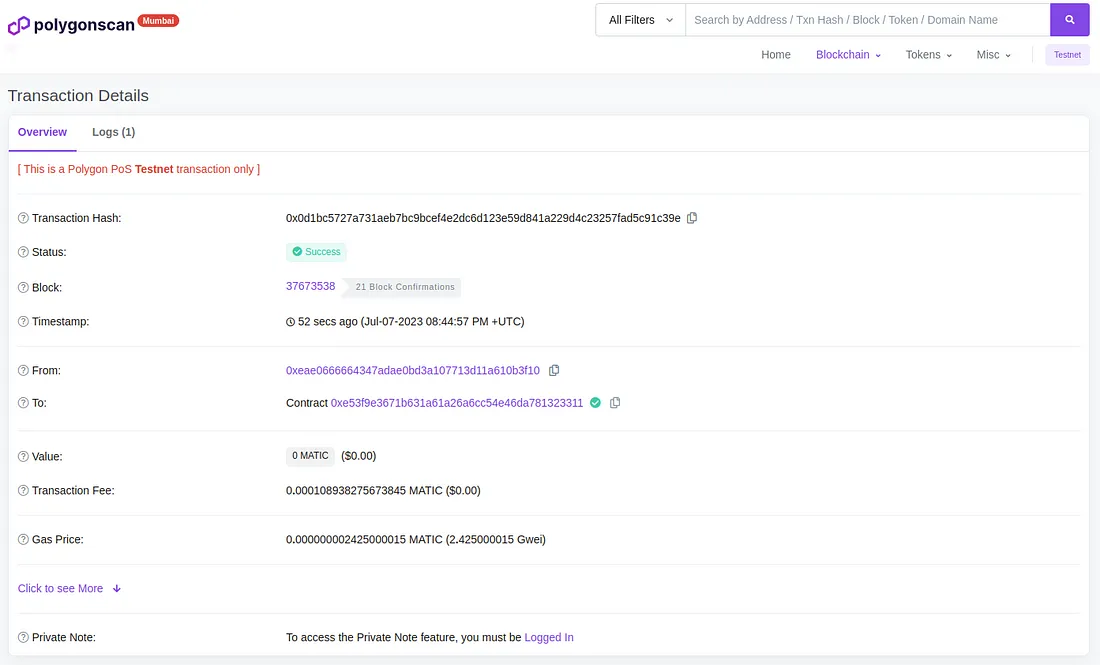
https://mumbai.polygonscan.com/tx/0x0d1bc5727a731aeb7bc9bcef4e2dc6d123e59d841a229d4c23257fad5c91c39e
Congratulations! You've now developed and interacted with your first decentralized application (dApp) on the Polygon platform, directly from your browser.
- Polygon Wiki— This is the official documentation by Polygon Network. It covers in detail the various aspects of the Polygon Network and its development tools.
- Truffle Suite — Truffle Suite's official website with extensive documentation and tutorials on using Truffle for Ethereum development.
- Remix Ethereum — This is an online compiler and Solidity IDE. It's a quick way to write, test, debug, and deploy smart contracts on Ethereum networks.
- OpenZeppelin — This library provides secure and community-audited smart contract components for Solidity.
- Web3.js — This is the Ethereum compatible JavaScript API which implements the Generic JSON RPC spec. It's used for interacting with Ethereum blockchain and smart contracts on it.
- Solidity Documentation — This is the official Solidity documentation, a great place to get a deep understanding of Solidity language.
- Etherscan — It allows you to explore the Ethereum and Polygon blockchains, transactions, addresses, and more.
- Hardhat — A development environment to compile, deploy, test, and debug your Ethereum software.
- Polygon Faucet — This is a faucet for the Polygon Mumbai Testnet. You can use it to request Matic tokens for testing your dApps on the test network.
- PolygonScan — This is the equivalent of Etherscan but for the Polygon Network. You can use it to explore transactions, addresses, blocks, and other activities happening on the Polygon Network.