
Why Switch to Kali Linux?
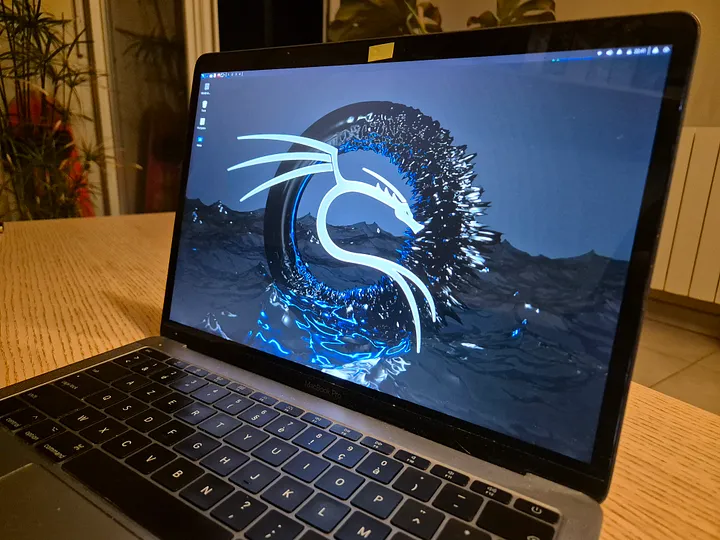
Kali Linux is a specialized distribution tailored for digital forensics and penetration testing.
It's packed with security tools and provides a more customizable environment than macOS, making it an ideal choice for cybersecurity professionals and enthusiasts alike.
Prerequisites
Before you embark on this journey, ensure you meet the following prerequisites:
- Knowledge of Linux Environments: Basic understanding of Linux commands, file systems, and terminal usage.
- Experience with Kali Linux Installation: It's highly recommended to have previously installed Kali Linux on a virtual machine. This helps you become familiar with the installation process and the interface. If you haven't done this yet, consider following a tutorial on setting up Kali Linux in a virtual environment before proceeding.
- External keyboard and mouse: It's better to have an external keyboard and mouse. Indeed, when reaching the graphical installation interface of Linux, the trackpad and the built-in keyboard of the Mac no longer worked. Note that by the end of the installation, they were functional again.
⚠️ Warning: Proceed with Caution ⚠️
This tutorial involves making significant changes to your Mac's operating system.
Replacing macOS with Kali Linux may result in the complete erasure of all data on your machine. You must back up all important data before proceeding.
I strongly discourage you from following this guide if you are not confident in your ability to handle these tasks.
Mistakes during this process can lead to data loss and potentially render your device unusable. I disclaim all responsibility for any loss of data or damage to your system resulting from following this tutorial.
Considerations and Alternatives
- Virtual Machines: If you are new to Kali Linux or unsure about replacing macOS, consider using a virtual machine. This safer alternative allows you to run Kali Linux within macOS without altering your primary system. Check out my tutorial on installing Kali Linux via a virtual machine for detailed guidance.
- Dual Boot: I also recommend setting up a dual boot configuration instead of completely removing macOS. This allows you to use both operating systems on the same machine, preserving your existing macOS installation and data.
Remember, your data is your responsibility. Ensure you understand the risks and alternatives before proceeding.
Step 1: Download the Kali Linux ISO
Visit the official Kali Linux download page and download the appropriate ISO file for your hardware.
If you're unsure whether to choose the 32-bit or 64-bit version, opt for the 64-bit if your hardware supports it, as it's the most common and efficient option.
Step 2: Create a Bootable USB Drive
To create a bootable USB drive, you'll need a tool to write the ISO file to the USB.
While macOS has some native tools, using a dedicated application like Etcher simplifies the process.
Install Etcher
Download and install Etcher from its official website.
Create the Bootable Drive
- Open Etcher.
- Select the Kali Linux ISO you downloaded.
- Choose your USB drive.
- Click “Flash” to start the process. This will format the USB drive and install Kali Linux.
Step 3: Prepare Your Mac for Installation
Before booting into Kali Linux, you may need to adjust your Mac's security settings.
Disable Secure Boot
- Restart your Mac and hold down Command (⌘) + R to enter Recovery Mode.
- Once in Recovery Mode, click on “Utilities” in the menu bar and select “Startup Security Utility.”
- Enter your admin password, then set Secure Boot to “No security” and “Allow booting from external media.”
Partition the Disk
If you want to dual-boot rather than fully replace macOS:
- Open Disk Utility from the Applications > Utilities folder.
- Select your main hard drive and click “Partition.”
- Create a new partition for Kali Linux with at least 20GB of space.
Step 4: Install Kali Linux
Boot from the USB
- Restart your Mac and hold the Option (⌥) key.
- Select the USB drive to boot from.
Installation Process
- Once the Kali Linux installer loads, select “Graphical Install” for a user-friendly experience.
- Choose your preferred language and region.
- Configure the network settings as prompted.
Partition Disks
- If you're replacing macOS, use “Guided — use entire disk.” (Not recommended! Use a Dual Boot.)
- For dual-booting, use “Manual” and select the partition you created earlier.
- Follow the prompts to install the system. Be patient, as this may take some time. (30 minutes for me)
Set Up Users
- You'll be prompted to create a user account and set passwords. For security, choose a strong password and consider encrypting your home directory.
Congratulations! At this stage, you should have Kali Linux installed on your machine when you restart it!
Step 5: Post-Installation Setup
Once Kali Linux is installed:
Update and Upgrade
Open the terminal and run:
1sudo apt update && sudo apt upgrade -y
This ensures all packages are up-to-date.
Configure Your Environment
Customize your desktop environment, install your preferred text editors, and set up your terminal to your liking.
Step 6: Get Familiar with Kali Linux
Kali Linux offers a plethora of tools like Metasploit, Nmap, Wireshark, and more.
Familiarize yourself with these tools to maximize your cybersecurity capabilities.
The Kali Linux Documentation is an excellent resource for learning about specific tools and best practices.